Monday, June 27, 2011

Food!


Raw meat is extremely photogenic.


Made some bulgogi and rice for my beau's lunch. :> That's all.


Bulgogi is "korean barbecue". It's beef, while pilgogi is spicy pork.

Thursday, June 23, 2011

A couple projects

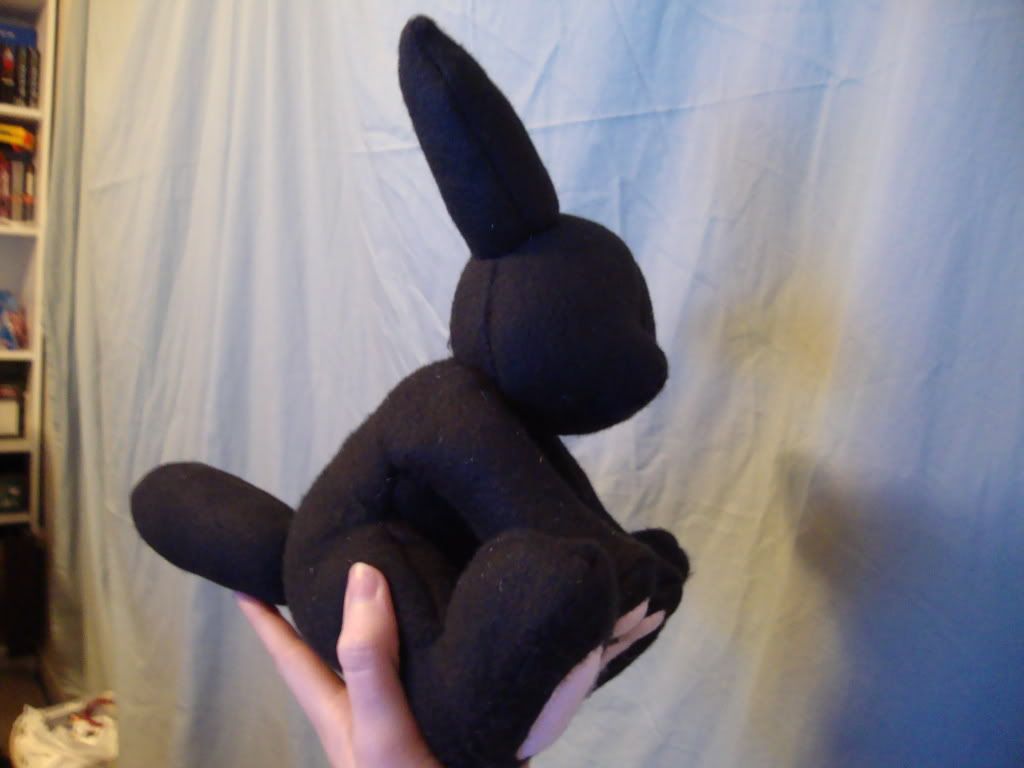
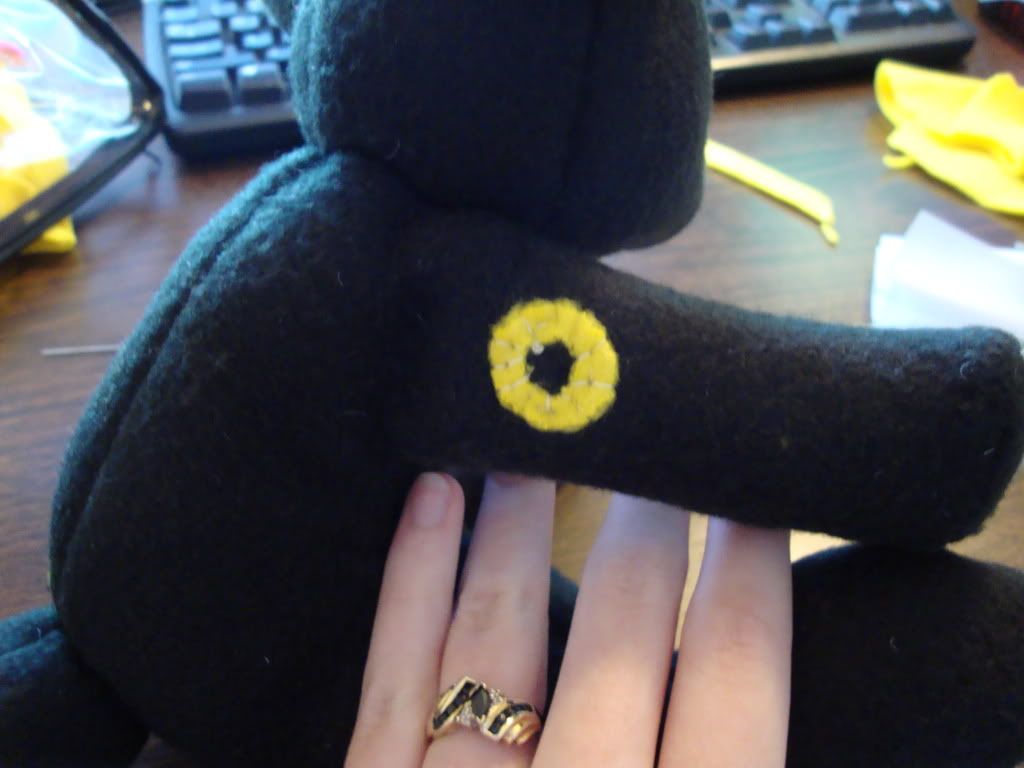
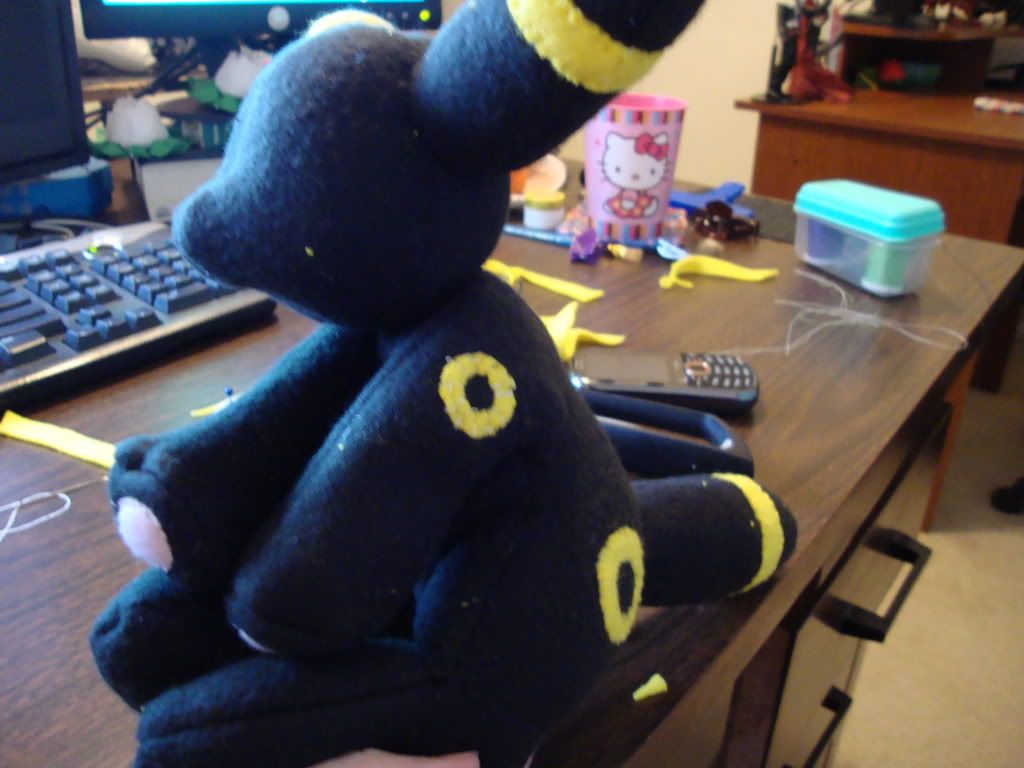
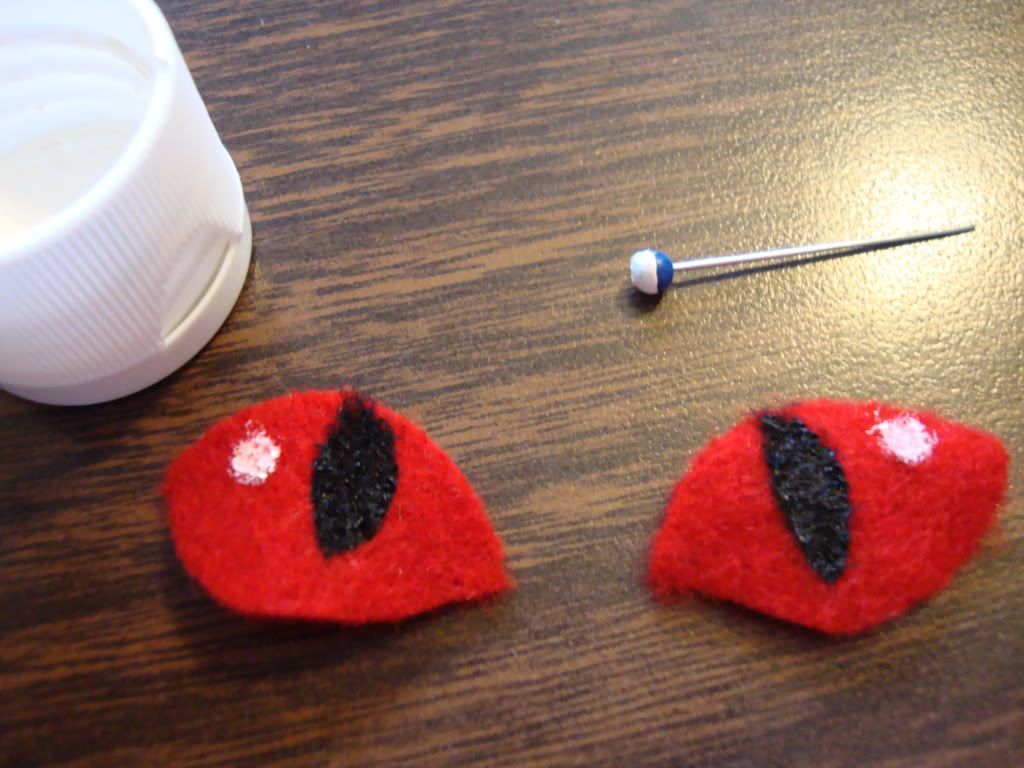
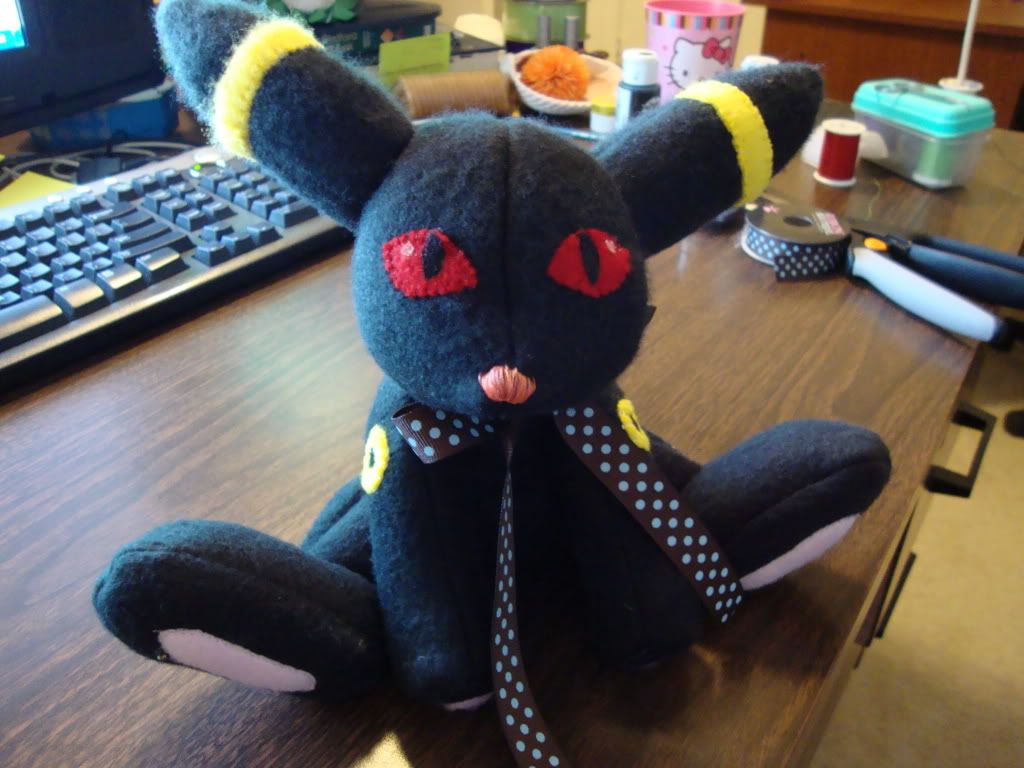
Umbreon
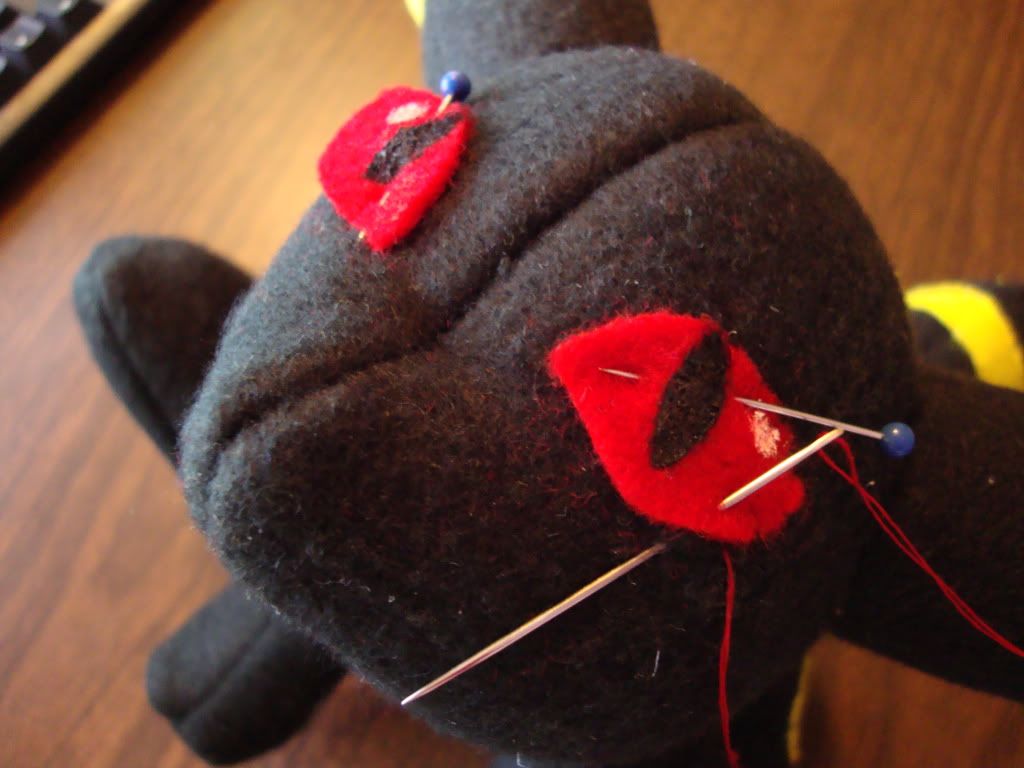
Head, ears, tail, feet stuffed with polyfill, body filled with plushie beads. Hand stitched on the yellow detail cut from fleece. Felt eyes with acrylic paint detail. Hand-sewn nose.


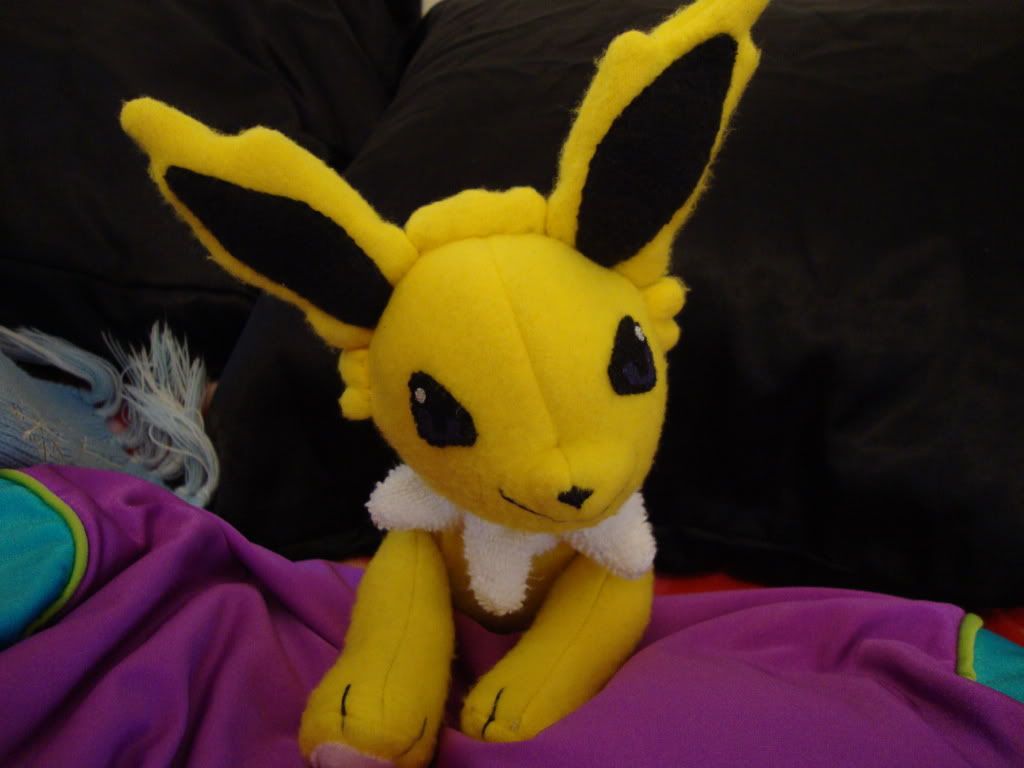
Jolteon

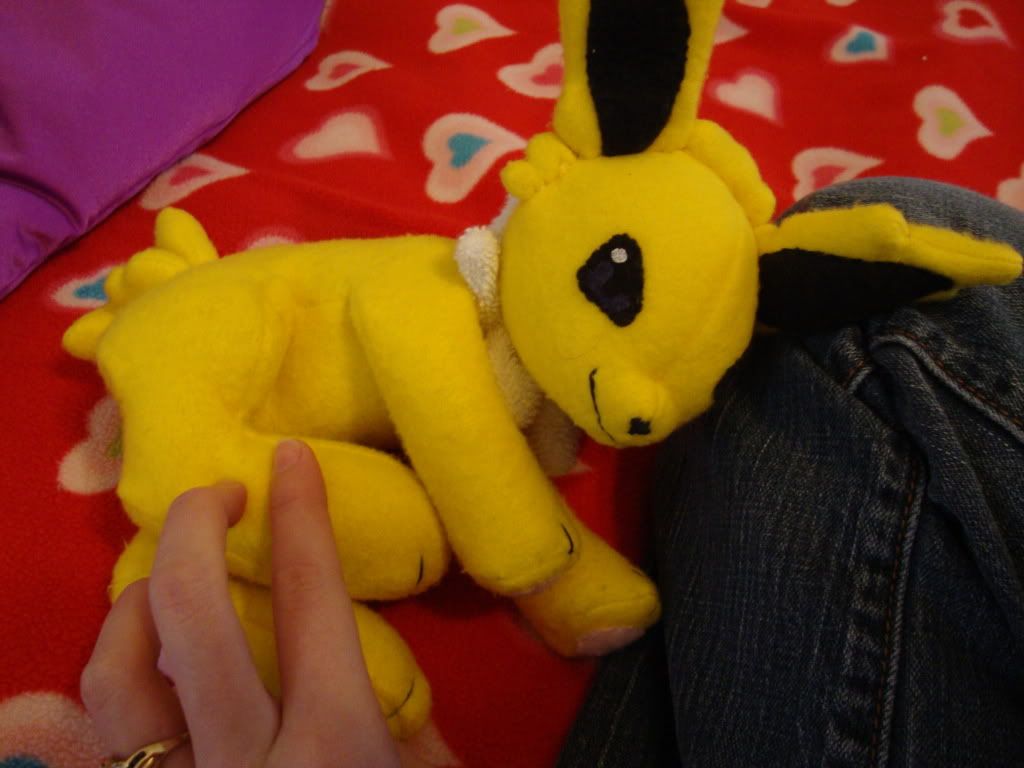
Made this one back in January when my beau came down with a flu and I thought he needed a friend. The white parts are cut from a pair of old socks. :D  I had a terrible time with this because at the time, I didn't have any fabric scissors so cutting was just absolute hell. As a result, some pieces turned out funny - the face, for example, is a little derpy.


Original plushie design by: renegar-kitsune


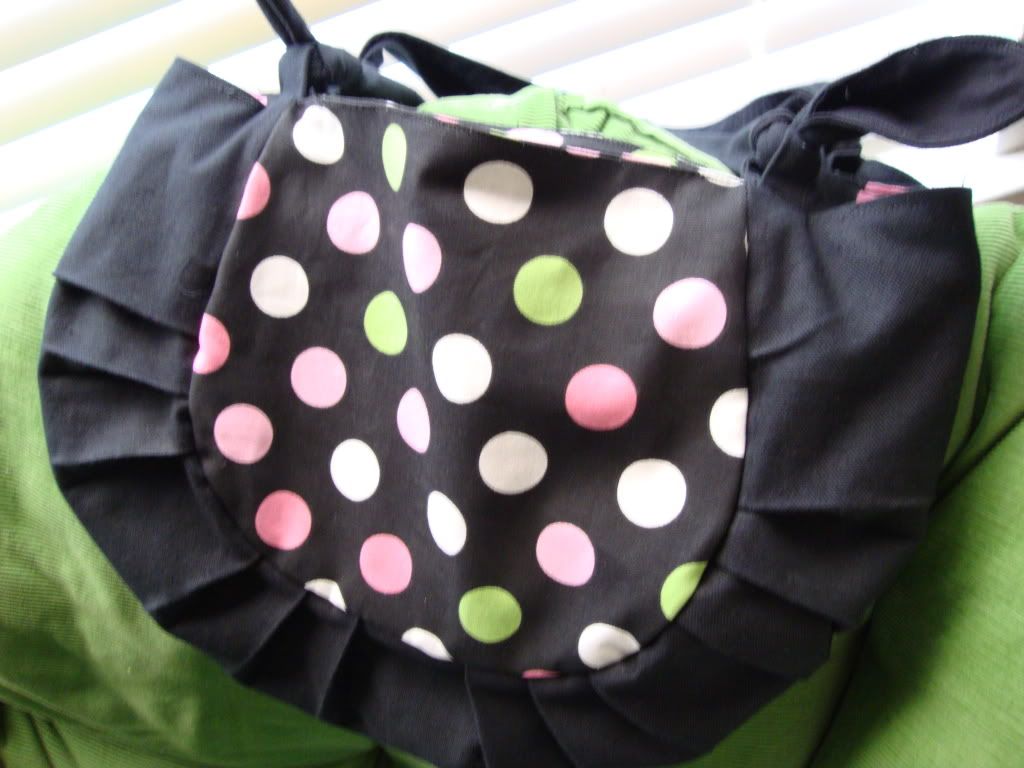
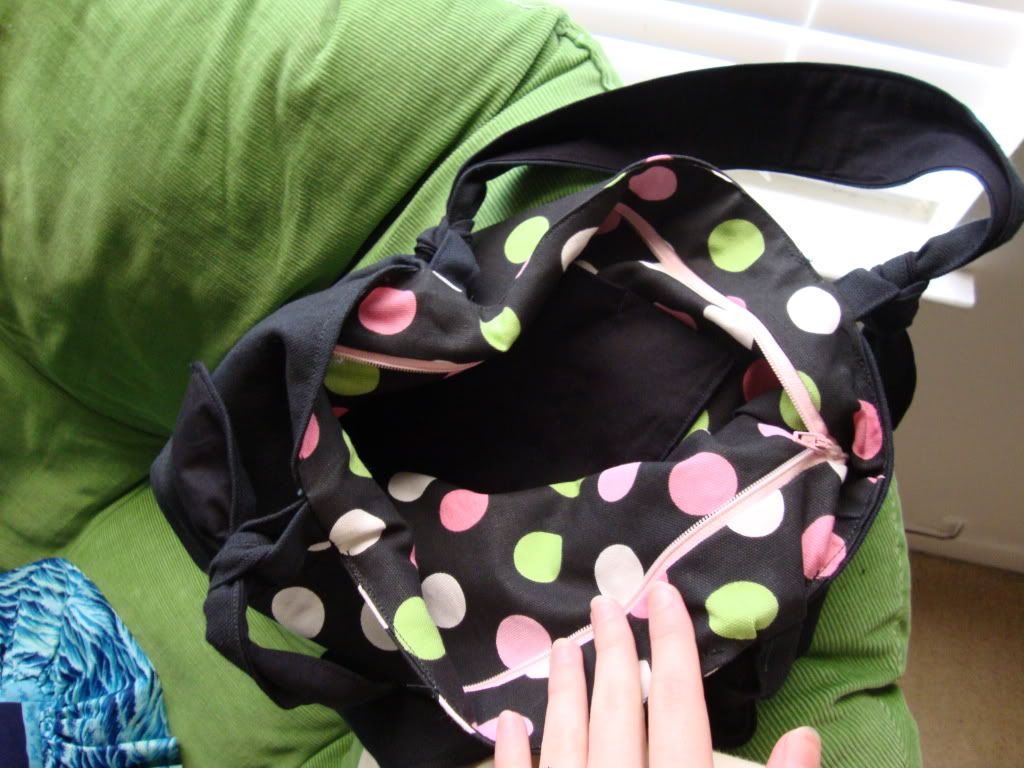
"Bonsai Bag" purse

Canvas material inside and out; I love this thing. It helped me figure out zippers.


Pattern by Rae at http://www.made-by-rae.com/

Friday, June 17, 2011

Stamping again... sort of

Father's day is coming up! I decided to make cards for my father and my beau's father. I neglected to take any pictures of it, but it was okay. The main point is...


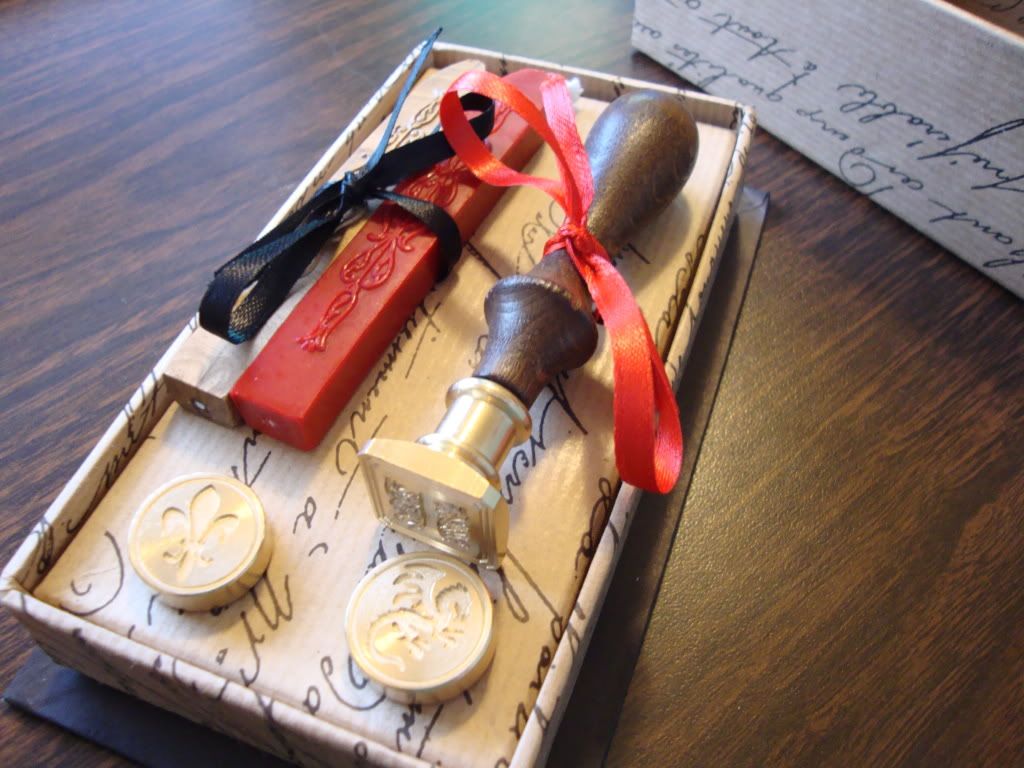
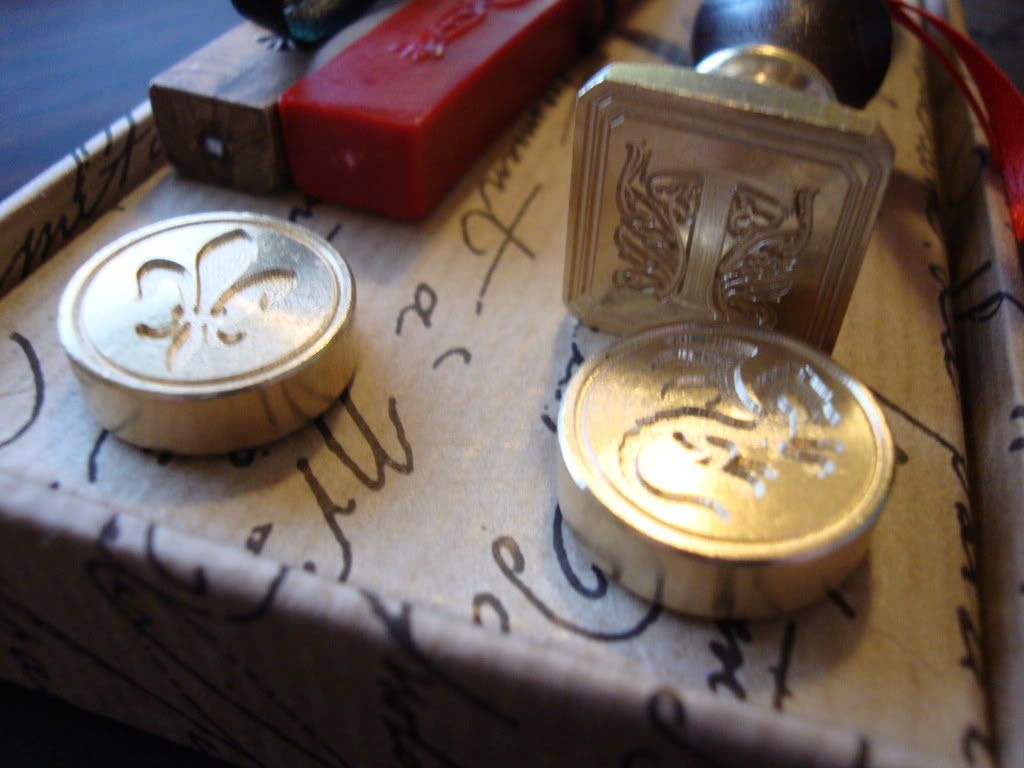
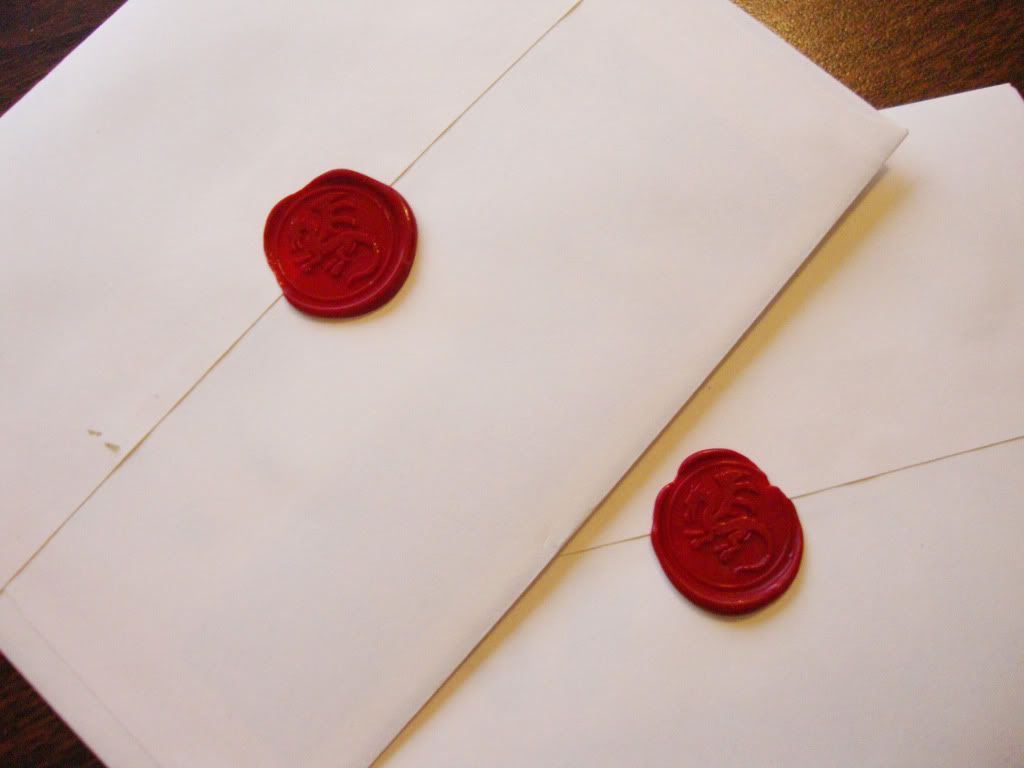
We got our wax seal set in today! I thought using wax seals on our wedding invitations would be something he would enjoy very much, so I convinced my fiancé (not so much "convinced" as mentioned it and he was all for it) to pick out a wax seal for us to order. We settled on a boxed set that came with two symbols and one filigree initial.


I just love the box. It came with two wax sticks, which I probably won't end up using. We also ordered a couple other wax sticks, which are made specially to fit in a standard hot glue gun.
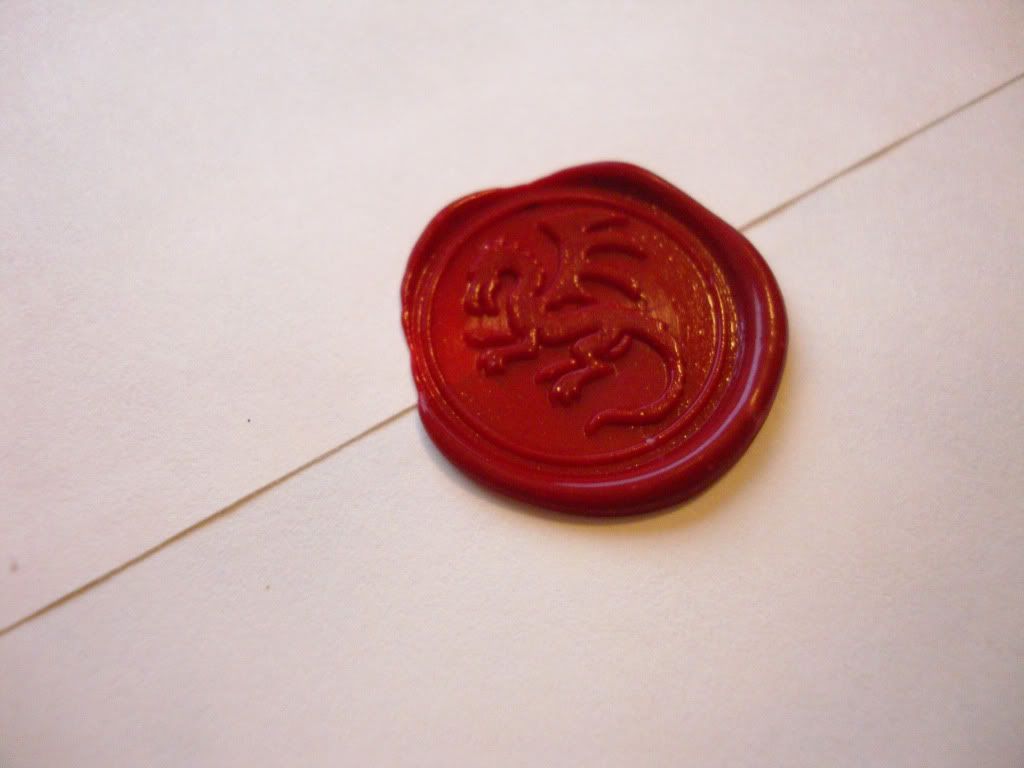
I like the filigree on the initial seal, but I'm not sure I like the square shape simply because it's so much bigger. The fleur de lis is classic, and I liked the dragon. I feel like the other options for the symbol seals were subpar, in my opinion. I would have absolutely loved if there were one that was a gryphon, since there are several on my family's coat of arms.

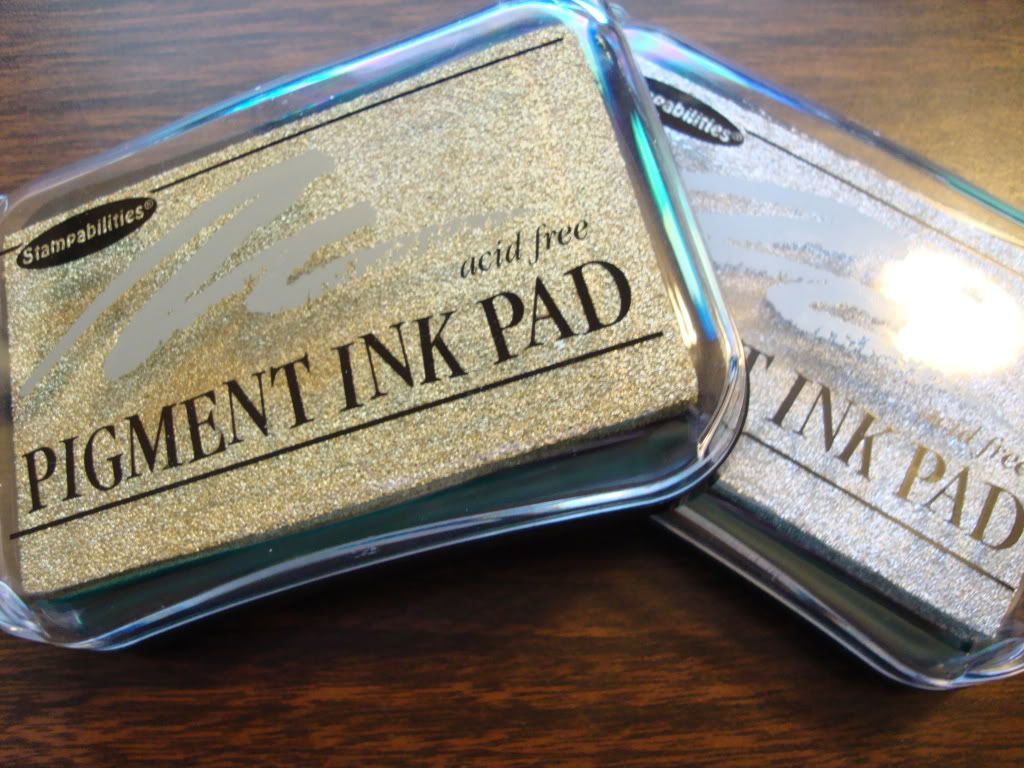
It's suggested when stamping into the wax to slightly wet the seal, but the included instructions also suggested using a metallic ink. What do you know! I have some of that.

I tried it out. :3


I decided I liked it "naked" better. Fiancé agreed. AND SO! I finished making our father's day cards.


Information:


Monday, May 16, 2011

More Stamping and Things

Even though we still are not remotely close to the wedding, I find myself thinking about Thank You cards now. I wanted to do more rubber stamping with those to go with the invitation suites I am going to make, so I picked up a Thank You stamp to play with.

Though it was just quick playing around, with no real idea of what I wanted to do. My silver ink is kind of blotty it seems. I only remembered after using black that I had gold/silver inks, so I stamped over the black and it looks like some weird drop shadow. For my wedding thank you cards, I'd of course use a cardstock that matches our colors, instead of this dark red. The stamping I was just seeing how I could use up white space if I used 1/4 of the cardstock sheet instead of half as I did in the left card.


I added in purple to my boutonnieres though!

I'm probably going to remake my boutonnieres [and matching corsages, assuredly] with different ribbon because I won't be able to find any that matches the color I had for these and I need more than what I had. It's about one yard of ribbon to make one rosette and the spool I bought to play with was only three yards.

I did manage to stumble upon the wedding area of Hobby Lobby and found all the little bits and pieces for bouts and corsages and things. Little sparkly sprigs of happyface. I'm going to have to go back sometime, but I just can't decide what I want to work on first. I want to do anything and everything I can for my own wedding, because I want to put my own two hands to work on whatever I can. Except the cake. And dress. Those are the only two things I don't want to make. Maybe bouquets, too. I can't decide if I want fresh flowers or silk - I'm an immense packrat as it is, so either way...

Centerpieces, corsages, boutonnieres, appropriate gifts, invitations, thank you cards.... the list grows.

Tuesday, May 3, 2011

First Blood

There's some battle wounds, here. There's a spider living somewhere in or on my desk that keeps making appearances and has lost a few legs in the process every time I throw something at it. Also, first blood has been drawn so it's on now, wedding. You and me. Pinpricks are not friendly and, much like papercuts, have a lingering pain no one likes.

I'm still trying to just come up with ideas for things to work on this summer. I made some ribbon roses a few weeks back from some sort of off-white satin ribbon, then tried it with some purple organza ribbon I found I don't like quite as much. I want to try and make boutonnieres, which is proving a little more difficult than I first assessed.

Just killed the spider after weeks of waging war. Victory!

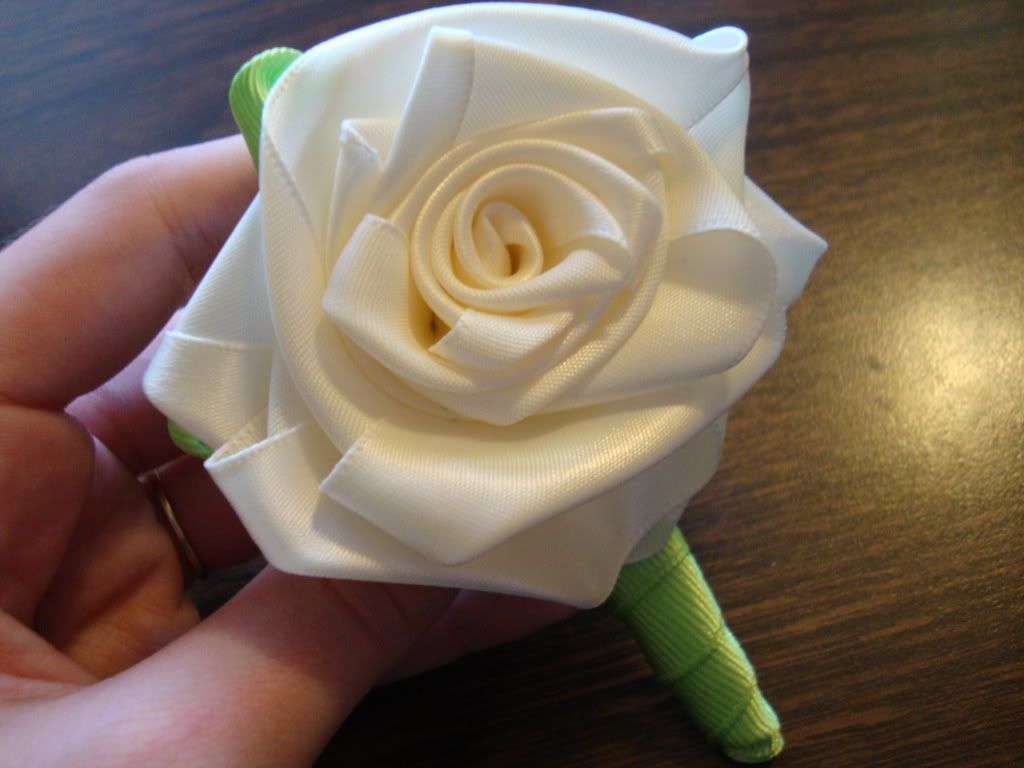
 Tonight, I finally did a little more than just the rose and tried to add the [technical term incoming] "stem thingy".

It's really more impressive in person?
I left a "tail" when making the rosette and improvised making the stem part with a piece of paper on my desk by folding it up, wrapping the tail around it and stapling it. I used a grosgrain ribbon in lime green and wrapped it around the paper stem-majigger. I also flipped it a couple times at the top in back for "leaves". I hand-stitched it all to keep it secure and came up with this mess. I don't hate it. I just want to figure out a way to work in some...thing... purple without over-doing it.

Should I figure out a "proper way" to do this, with replicable results, I want to make a full set - groom, best man (I doubt we'll go beyond into groomsmen), father of bride, and father of groom. I also want to make matching corsages for the lady counterparts, but that will be figured out later. Haha.


I did manage figuring out how I wanted my invitations done and the lovely lad agrees, so I'll be actually making those later on. Invitation, direction card, RSVP and matching RSVP & mailing envelopes lined in a pretty-pretty purple paper.

Tuesday, April 19, 2011

Stamping Adventure

Rubber stamping. It's not something I ever really dabbled with. However, I got the idea into my head that I would much rather make my wedding invitations instead of have them made. All the more tempting to try something I've never done, huh?

I managed to get out to Hobby Lobby this morning with my beau in tow, har har har rhyme. We (that is to say, I) looked at primarily the stamps.
----As an aside, Stampabilities/Paper Studio stuff is 50% off. That was double sweet.
I did a little "research" beforehand and decided to use just clear stamps, because being clear, I could easily see where precisely I was stamping. Picked up a couple interesting stamp packs and a giant acrylic block.. ....And ten different ink pads, because of the above mentioned sale. I picked up embossing powder too, but am at a lack for a heat gun (They were sold out today. Booooo!).

If you've never used clear stamps yourself, they're silicone (I think) stamp designs and you peel them off of the plastic sheet they come on. Then, you position it how you want it on a clear acrylic block. The silicone just adheres to the acrylic on its own, so you can peel it and change it around how you want to. After you're done, you just peel the stamp off, wash it with soapy water or stamp cleaner, and then put it back on the plastic sheet. I think they're pretty cool.

I spent most of the evening playing with my new toys. I stumbled upon a pretty neat sort of watermark-like effect that uses Pearl-Ex powder. I already had some metallic green Pearl-Ex from using it with my polymer clay, so it was great.

You need embossing ink and Pearl-Ex powder. You load up your stamp with the embossing ink, stamp the paper, and before it gets too dry, brush on some powder with a paintbrush. It's kind of like magic if you use a clear embossing ink, so the image just "magically appears" when you run the powder over it and it adheres to the ink.


Incidentally, the gradient in this photo is due to the reflection of my monitor on the Pearl-Ex. However, you can achieve something very similar if you brush on different colours of Pearl-Ex before the embossing ink dries.


I also found this cardstock I liked at Office Max, called "Stardust". It's flecked with little colored bits. I still have to find preferably a dark purple cardstock.


I just wanted to share. ^_^ I'm just glad I get to sink some time into making things soon.

Sunday, April 17, 2011

Dead period

I moved in January and have not had the chance to do any crafting since then. The semester is almost over though, so I'll be able to jump into it full swing for the summer. I already have a lot of work cut out for me, because I'm also hoping to make plenty of things for my wedding.


But in the meantime, instead of studying for an exam...


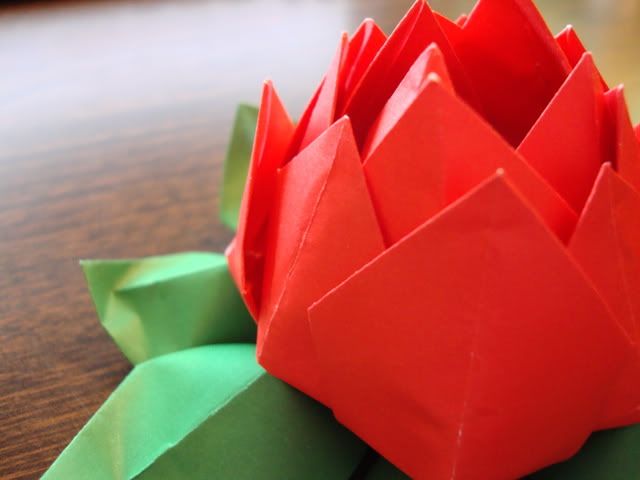
Origami lotus flower