Rubber stamping. It's not something I ever really dabbled with. However, I got the idea into my head that I would much rather make my wedding invitations instead of
have them made. All the more tempting to try something I've never done, huh?
I managed to get out to Hobby Lobby this morning
with my beau in tow, har har har rhyme. We (that is to say, I) looked at primarily the stamps.
----As an aside, Stampabilities/Paper Studio stuff is 50% off. That was double sweet.
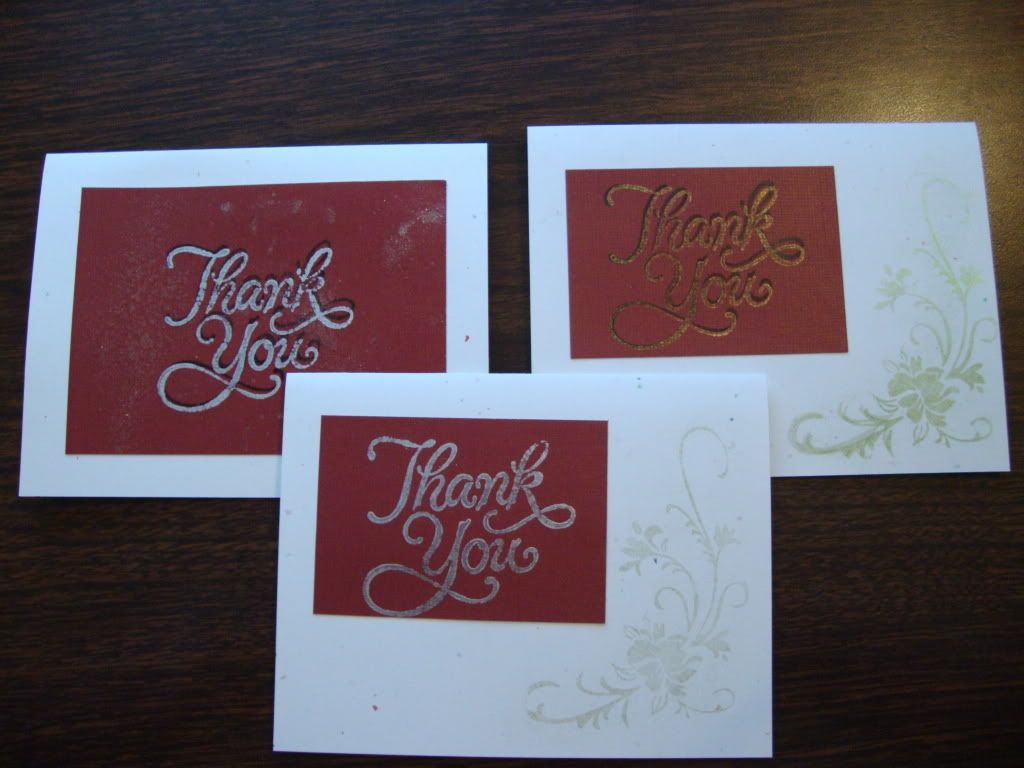
I did a little "research" beforehand and decided to use just clear stamps, because being clear, I could easily see
where precisely I was stamping. Picked up a couple interesting stamp packs and a giant acrylic block.. ....And ten different ink pads, because of the above mentioned sale. I picked up embossing powder too, but am at a lack for a heat gun (They were sold out today. Booooo!).
If you've never used clear stamps yourself, they're silicone (I think) stamp designs and you peel them off of the plastic sheet they come on. Then, you position it how you want it on a clear acrylic block. The silicone just adheres to the acrylic on its own, so you can peel it and change it around how you want to. After you're done, you just peel the stamp off, wash it with soapy water or stamp cleaner, and then put it back on the plastic sheet. I think they're pretty cool.
I spent most of the evening playing with my new toys. I stumbled upon a pretty neat sort of watermark-like effect that uses Pearl-Ex powder. I already had some metallic green Pearl-Ex from using it with my polymer clay, so it was great.
You need embossing ink and Pearl-Ex powder. You load up your stamp with the embossing ink, stamp the paper, and before it gets too dry, brush on some powder with a paintbrush. It's kind of like magic if you use a clear embossing ink, so the image just "magically appears" when you run the powder over it and it adheres to the ink.
Incidentally, the gradient in this photo is due to the reflection of my monitor on the Pearl-Ex. However, you can achieve something very similar if you brush on different colours of Pearl-Ex before the embossing ink dries.
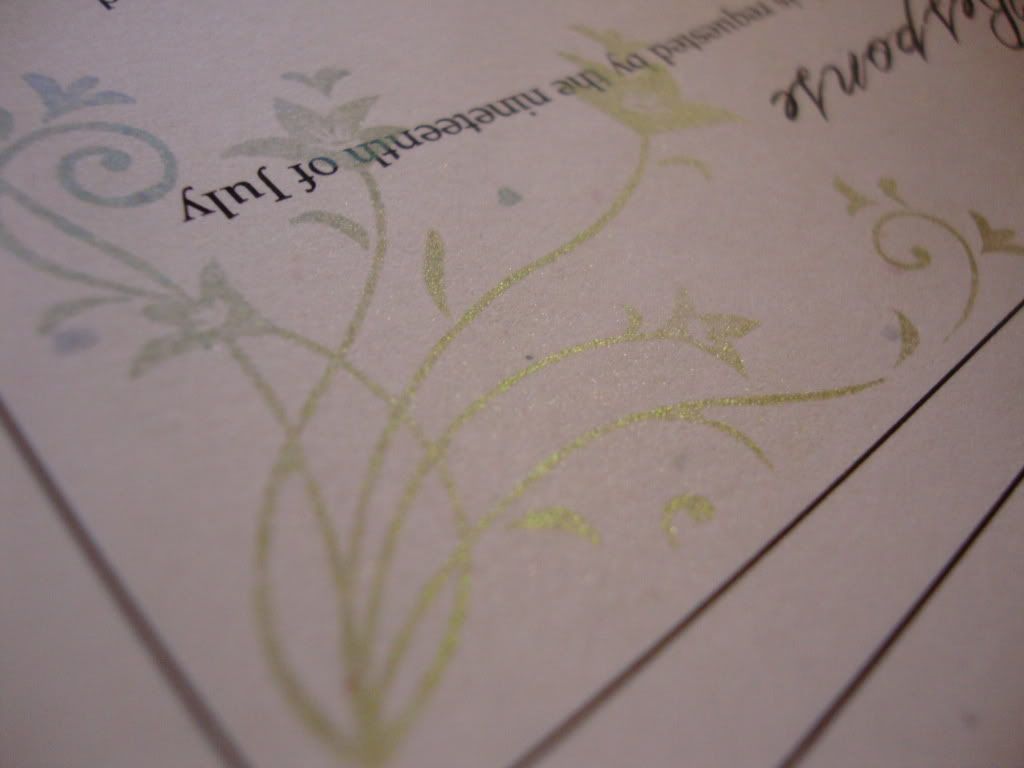
I also found this cardstock I liked at Office Max, called "Stardust". It's flecked with little colored bits. I still have to find
preferably a dark purple cardstock.
I just wanted to share. ^_^ I'm just glad I get to sink some time into making things soon.