Showing posts with label polymer clay. Show all posts

Monday, November 1, 2010

Polymer Clay - Boo's new hat!

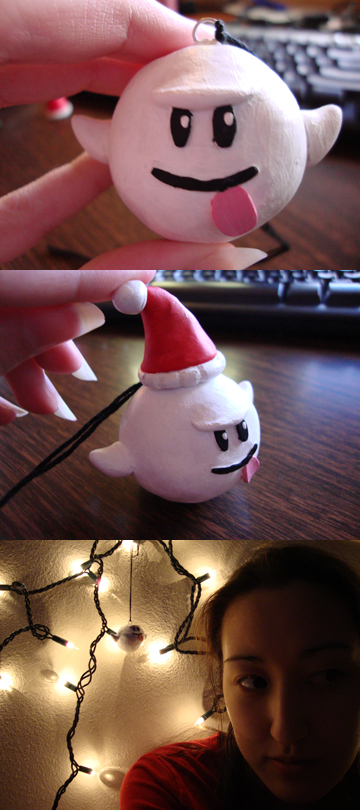
Last year, I made a Christmas ornament for my boyfriend(fiancĂ©) which was Boo (From Mario!) with a Santa hat.   See below(photos from before he was glazed :<) :
*cackle*
   I love him. He's great. However my fiancĂ©'s complaint is that his Santa hat is no bueno for the rest of the year! I agree.

He'll look absolutely smashing!
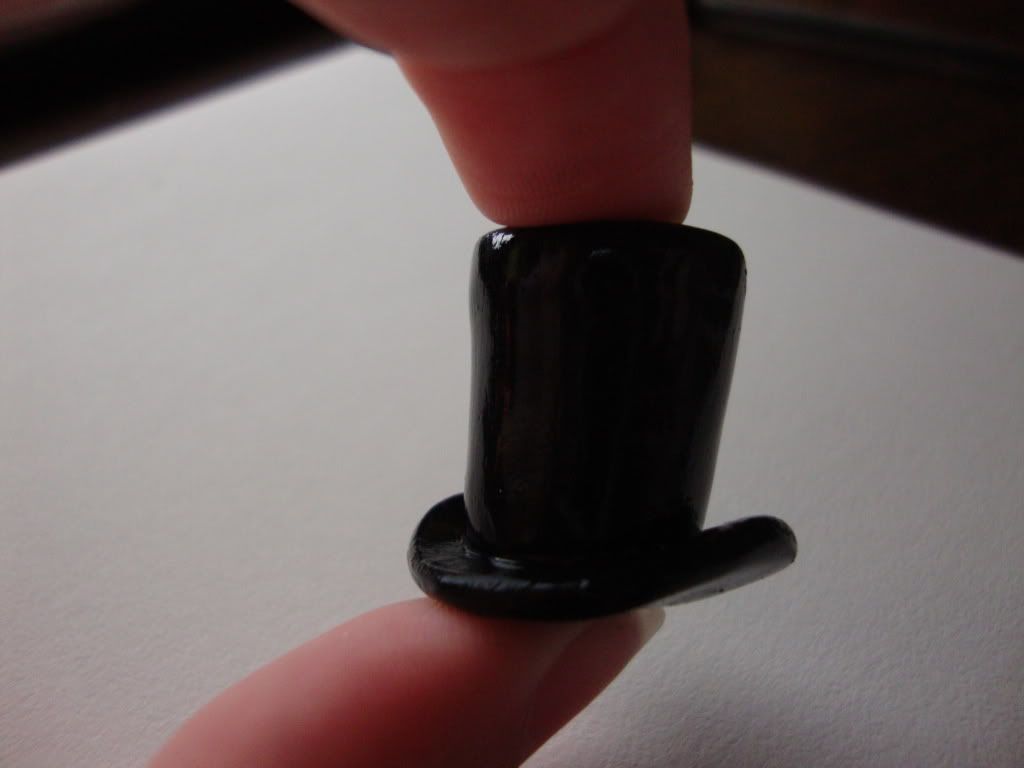
I'm already getting started on making some Christmas presents, so whatever. Boo will receive a dapper little top hat this holiday season.


For inquiring minds:  Boo is an aluminum foil core covered in polymer clay. While I didn't capture it in the picture, his backside does taper out into a tail. Hats have a hole run through them before baking big enough for the hanging loop to be strung through it and hold it on.

Monday, October 18, 2010

Costumery - Steampunk Goggles

I will attempt to explain in absolutely terrible detail how I made my lol-goggles.


Tutorials I've found on the interwebz:
http://mtani.deviantart.com/art/Steampunk-Goggles-Tutorial-105778289

http://fenris-the-red-wolf.deviantart.com/art/Steampunk-Goggles-A-Tutorial-91226763
http://raegar.deviantart.com/art/Steampunk-Goggles-168441815
These all looked great, but...

Yeah, okay. So while I wanted leather and metal, the whole nine yards (or at least four and a half yards would have been nice), I didn't have many things on-hand to futz with. I did however have a pile of polymer clay, some spray paint from my NERF gun repaint, and some old aprons and felt. ...And a toilet tissue roll. The heck did I do with this crap?

Pile of junk.

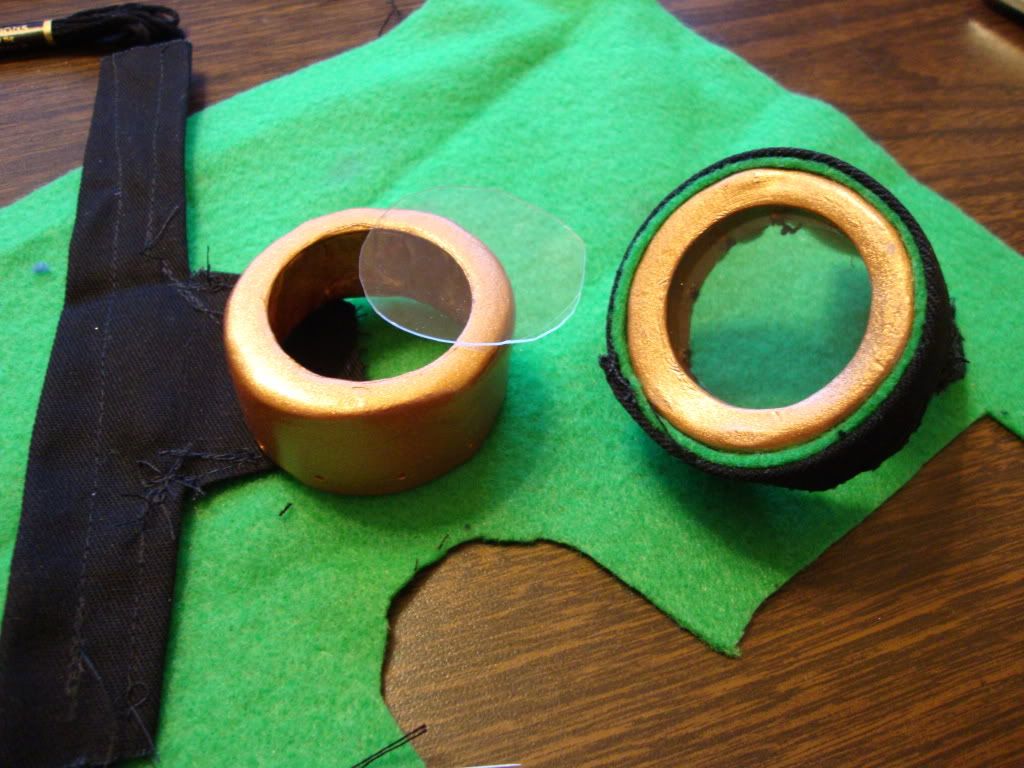
I cut two pieces from the cardboard roll the be the base of my eyepieces. Maybe an inch wide. I reinforced these with masking tape so they wouldn't be so flimsy, before rolling a sheet of polymer clay around the outside and trimming it to fit. (I ran the clay through my pasta machine so it'd be uniform.)
The fronts of the eyepieces still had to be made. I rolled out more clay and used something (in this case, an old salt shaker cap) to cut out circles from the middles, where I would later put in clear plastic for lenses.
Around the opposite edge, I poked holes through before baking where I'd later stitch.

Or something like that.
I don't care how the inside looked. Baked this per package instructions. Let cool, then applied a few coats of spray paint. I spent the time it was drying to dig around the house for some kind of fabric to use in lieu of leather.


This one was a huge ugly "No."
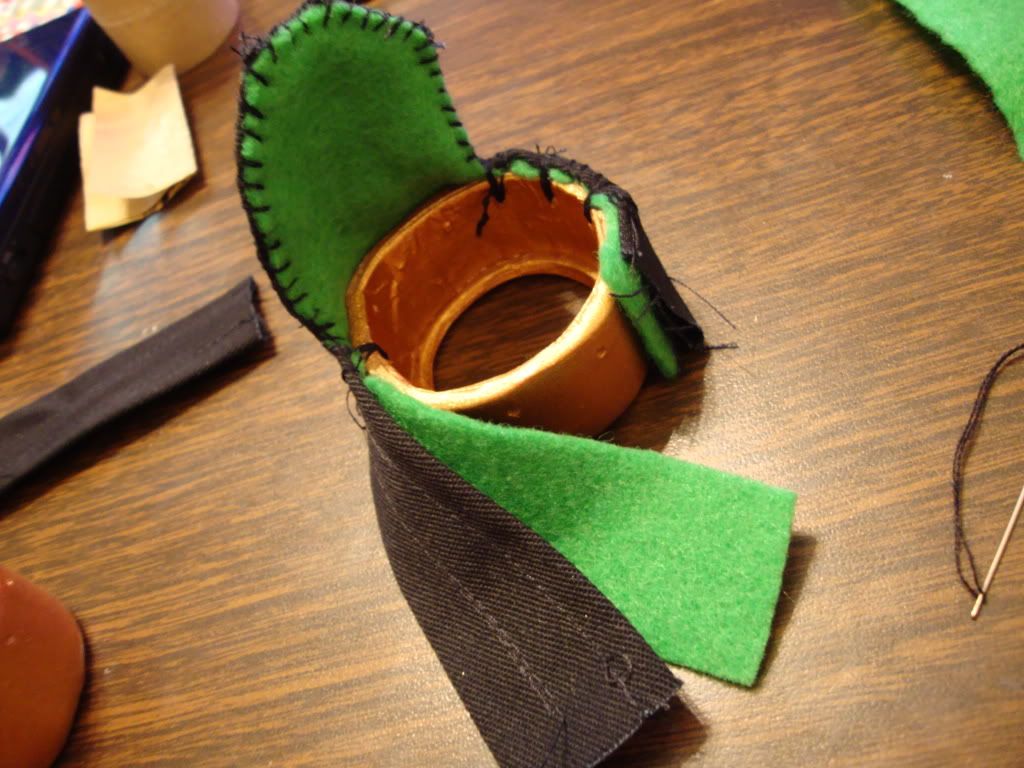
My wonderful mother however pulled up a pile of aprons she doesn't use for work anymore. Essentially black canvas (And an adorable red one I'm keeping) just waiting for me to decimate it.   I cut a rough "Whale" shape (As I saw it described in one of the aforementioned tutorials - I think that sounded adorable.) and trimmed it down how I wanted for comfort. I DIDN'T THINK THIS WAS ENOUGH THOUGH! It needed more color. I managed to dig up my old collection of craft felt. I cut a matching piece from it and put them together. I wrapped these two pieces around the now-dry eyepieces, and using the previously poked holes, I stitched (repeatedly) through the fabric and eyepieces to secure them together.
Like this.
Repeat for the second eyepiece.
I managed to find some clear plastic from some product's packaging. I cut circles from it to use for lenses and trimmed the edged down until they sat inside of the eyepiece snugly (from the inside. This is why I previously stamped out circles, leaving a place inside for the lens to rest).

As for the rest of the goggles' assembly, I used a scrap to join the eyepieces in the middle as a noserest or something. I cheated by using the adjustable strap from the apron as the strap for the goggles.


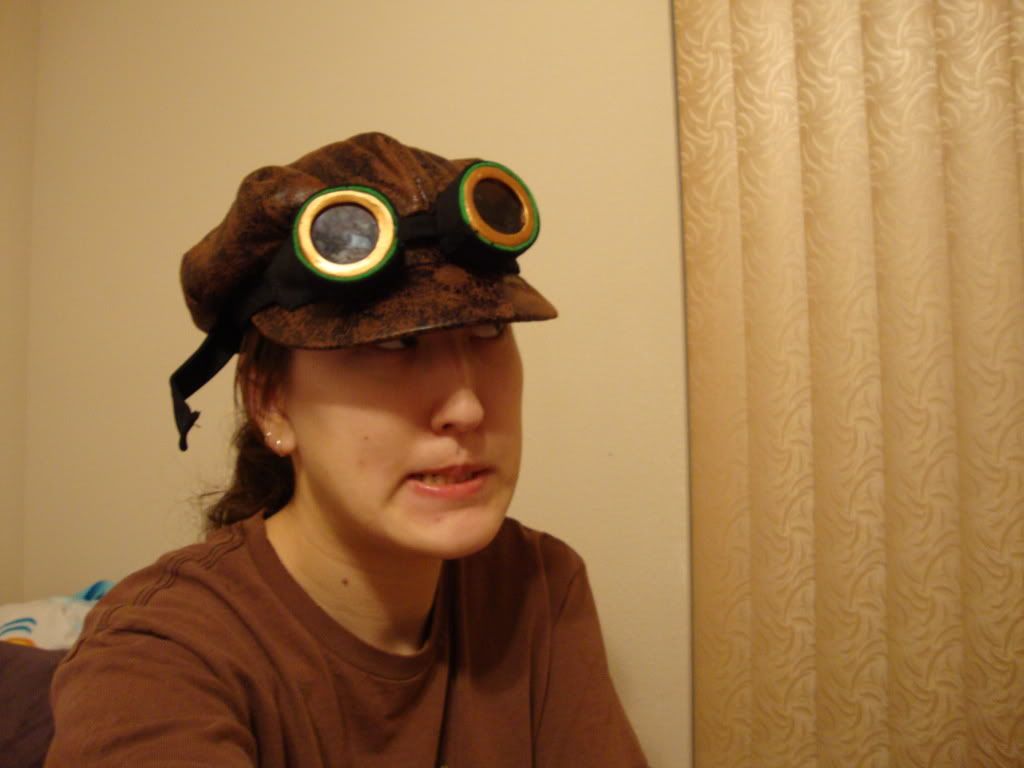
These look freaking goofy if I actually wear them on my face, but my main intent in making them was to wear on my hat.

HURR HURR HURR DURP DURP

Monday, October 11, 2010

Pokemon Overload. Maybe.

There is never a Pokemon overload.


I finished my Kanto gym badge set. All eight badges: Boulder, Cascade, Thunder, Rainbow, Marsh, Soul, Volcano, Earth. They weren't necessarily hard. Rainbow was time consuming in that I had to mix all of the colors. Cutting Thunder's shape right sort of sucked too.


I'm thrilled with how these turned out, sans the whole hex vs octagon issue.
Next up was... My best buddy asked that in addition to the Bellossom plushie I made for him that he would like a Gastly to hang in his car. Hell, why not?

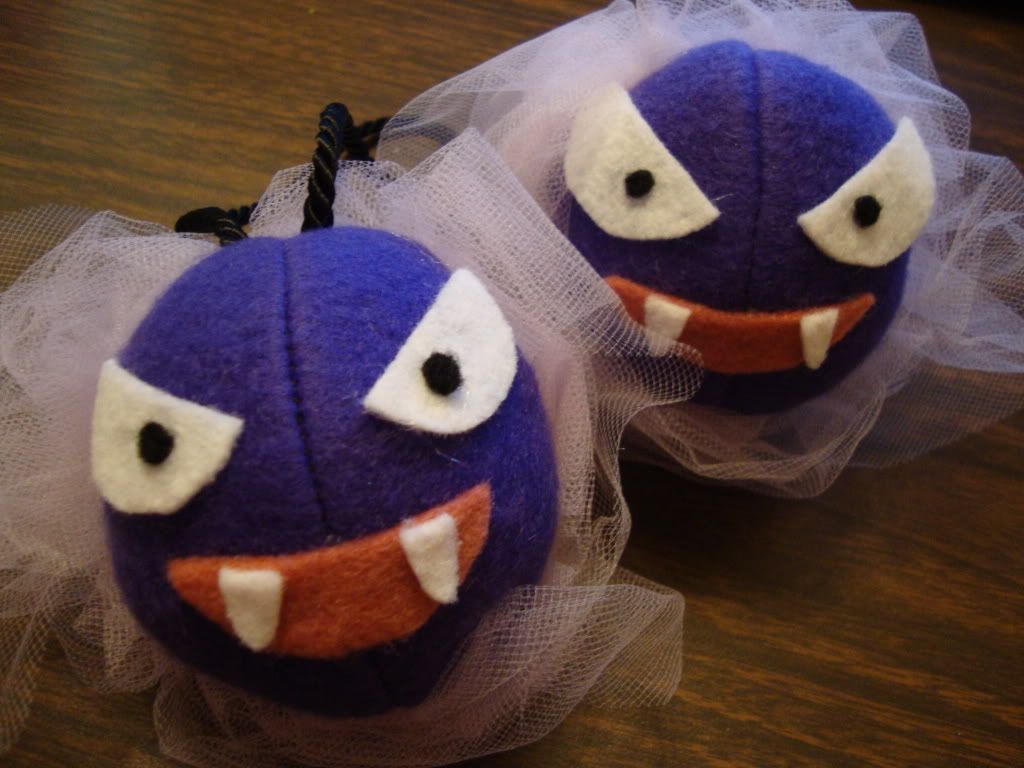
Say hi, Gastly!

I did not make the Pikachu - he was purchased. ^_^
I'm extremely pleased with how they have turned out and currently have four of them sitting here with me. I sort of like it without the hanging loop, but as they are ghost pokemon, I figure they need to be suspended somehow. The bodies are fleece, faces are felt, and poofs are tulle. Machine and hand sewn. Some hot glue for facial attachment.

Also, the Bellossom are all felt. Machine and hand sewn. Hot glue for the face and flowers. Skirt petals all hand sewn on.


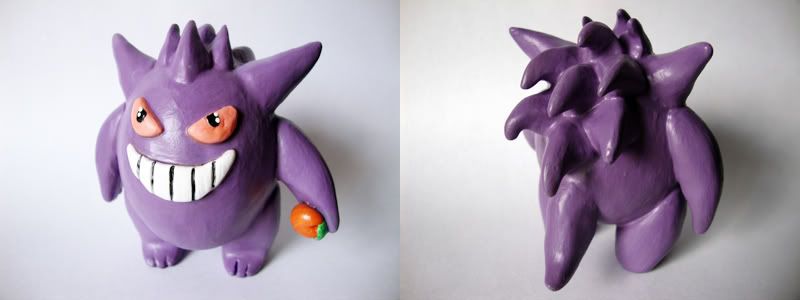
I, some time ago, made a Gengar figurine for a friend of mine with promise that I'll one day sell it to him when I was ready to relinquish him. Darn attachment I have formed with him. Gengar gave me much grief when the gloss I used to coat him turned into a swirly orange weirdness, causing me to repaint him and purchase a different glaze. I love how the backside turned out. He stands easily and even holds a berry of some flavor.

Gengar made from polymer clay
This friend wants a Gastly as well, but .... What good is Gastly and Gengar if you don't have a Haunter?


Commence concept sketch.
bleh?

I nixed the tail and found out I'm terrible with anything that has a corner and needs to be turned out. .... That is to say, all of the spikes. They did not turn out nearly as spiky or large as I wanted. Also, I should have gone with the top mouth design instead of the bottom.

I mean, in short. This thing eats my head.

BLEHHHHHHHHHHHH!
I've since added the eyes, which are felt and hand quilted on but I don't even like that. It's going to be up to him if he wants the hat or not. If not, I'll probably rip it apart and change it up some. I'm not sure. The band around the bottom is too wide. Fffffffffffffffffffffffffffffff.

Friday, October 8, 2010

Pumkins, kitties and badges! Oh my!

Because "Lions, tigers, and bears" spoofs haven't been overdone. No, not at all.


Well, I put some more Halloweeny earrings up on my etsy (Link on the right panel!)
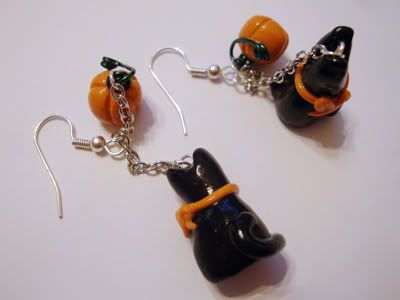
I really like my little pumpkins, but this time I've paired them with some relatively simplified looking black cats. I also listed a pair of earrings with just the cats on them.

Meeeowww.
I've always been a Pokemon fan, ever since the beginning. I've been heavily into it the past few months (my Platinum pokedex is almost complete! 10 Pokemon to go.), with a costume (a later post) and making plushies and figurines. I've just recently started watching the anime series from the beginning.

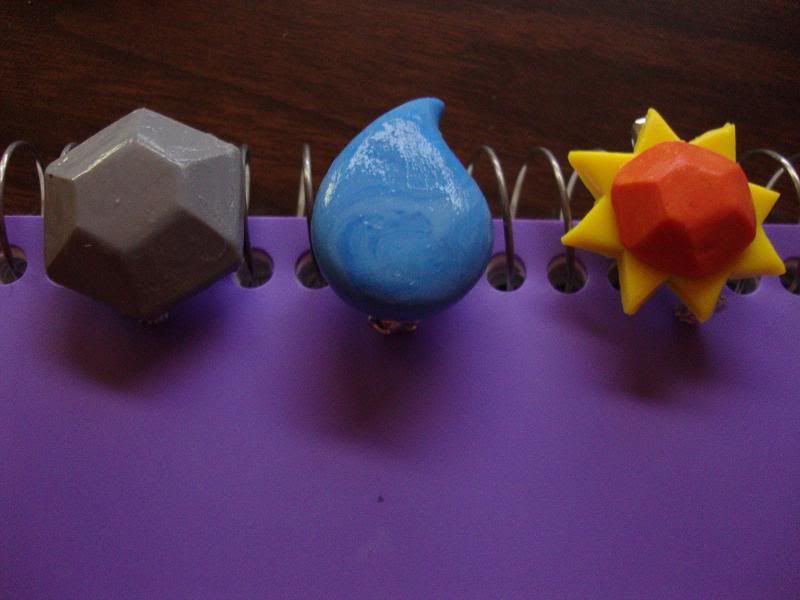
So, I bring you today's little project I started. The first three Kanto badges. I do realize that they're suppose to be octagonal, not hexagonal. I'm not really worried about it right now. I'm happy with how they turned out overall. I'll finish the Kanto set before I even look at which region I want to do next. I don't feel some of them will translate to polymer clay very well. Especially Sinnoh and Isshu's badges.

Boulder, Cascade, Thunder